Added functions

This package consists of 4 main functions spread over 2 pre-imported modules:
- imagePaste()
- imageSmear()
- imageWipe()
- show()
imagePaste()
imagePaste() takes 7 arguments: (it sounds like a lot, but trust me, you only need to worry about 3 of them)
1. The image you want to take pixels from [use the default to use the included images]
2. The source destination to paste pixels to (default is a new blank image)
3. The color by which you will grab pixels: 'red', 'green', 'blue', 'brightness', 'saturation', or 'hue'
4. The comparison operator: 'gt' (greater-than), or 'lt' (less-than)
5. The threshold (mask) by which to extract said pixels. 0-255 (grayscale)
6. The image width (use img_width for default) [it's already filled out, so don't worry]
7. The image height (use img_height for default) [it's already filled out, so don't worry]
A quick example would be: imagePaste(images[2], blank, "brightness", 'lt', 200, img_width, img_height)
(Don't worry if this seems confusing -- The source image, blank image, height and width are already taken care of!)
Your options here are simple, yet powerful; you get to choose a color, a comparison operator, and a threshold. So, as simple as it may seem, you can get a completely different image just by changing the 'brightness' in the above code to 'blue', the 'lt' to 'gt', and the threshold value (200) to something like 50 instead.
What you'd essentially be saying is this: for every pixel in my image, is the blueness of each pixel greater than 50? If so, I want those pixels!
imageSmear()
This function takes 6 arguments:
1. The image you want to smear [use the default values to use the included images]
2. The color value you want to target ('red', 'green', 'blue', 'hue', 'saturation', 'brightness')
3. How you want to compare this against the grayscale mask: 'gt' (greater-than), or 'lt' (less-than)
4. The threshold (grayscale mask) to compare each pixel by (0-255)
4. The image width (use defaults if you can) [defaults are already there]
5. The image height (use defaults if you can) [defaults are already there]
In a nutshell, this function works in a very similar way to imagePaste(), but instead of simply pasting images to a blank canvas of sorts, we're just smearing some of the pixels and then putting them right back into the same image's pixel array where we found them.
An easy way to think about this is that we're simply asking the computer to rearrange the pixels we specify and shift some of them to the left.
Here are some even better ways to think about this function:
1. Which image do I want to use? [default values are acceptable!]
2. Which colors do I want to smear?
3. Above or below which grayscale threshold?
If you've ever used a mask in an image editing program, this is a lot like placing a simple gray value of your choosing over the image, and only affecting the pixels which are either lighter or darker (again, that's also your call) than the threshold you specified.
A few examples might look like this:
1. imageSmear(blank, 'brightness', 'lt', 100, img_width, img_height) [width and height are already mentioned above]
2. imageSmear(blank, 'blue', 'gt', 25, img_width, img_height) [width and height are already mentioned above]
3. imageSmear(blank, 1, 'lt', 200, img_width, img_height) [width and height are already mentioned above]
imageWipe()
This one is way more simple, it basically just erases your image back to black, like this:
imageWipe(blank, img_width, img_height) [Wipes an image clean with color value (0, 0, 0) (black)]
Mostly, the purpose of this is for advanced users who want to create generative values and output an image after every tick of the draw loop (tutorial coming soon, hopefully!). What this could potentially do is throw a bunch of random pixels at the canvas, smear others based on another algorithm, save the image to a file automagically, wipe itself clean and start all over without any human intervention thereafter.
Experimenting with int(random(6)) in place of color values can give you an idea of what happens when the value changes each time the draw loop is initiated -- so you could only imagine what automating this process is like!
show()
The most basic function of all, show() is just a simple rewrite of the standard image() function. It takes one argument, which is whatever image you want to show. The purpose of this is to fix it to the current window (especially when you have a 'preview' / debut size specified without having to type those values out. This way, you can load up a few show() commands and comment them in and out individually to debug your sketch quickly if something seems to be going wrong.
That's it! They're very simple, but powerful functions!
Files
Get Image Funk
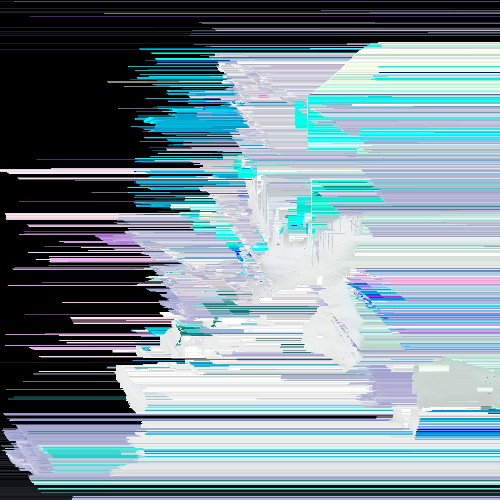
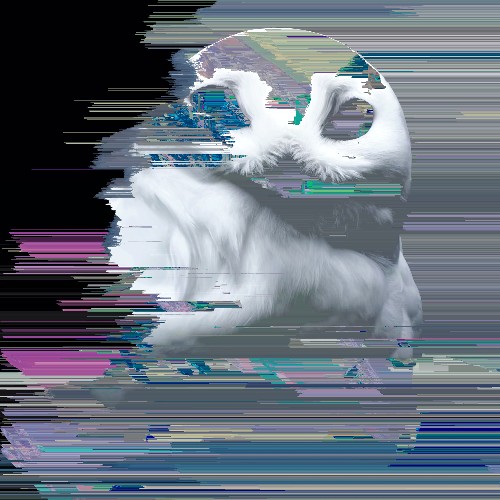
Image Funk
What's that smell? Oh - it's just pixel sorting.
| Status | Released |
| Category | Tool |
| Author | Agent Slimepunk |
| Tags | 2D, glitch, image-processing, Photorealistic, pixel, Pixel Art, Procedural Generation, processing, python, sourcecode |
More posts
- Quickstart GuideApr 17, 2023
- Importing your own images for funkin'Apr 16, 2023
Leave a comment
Log in with itch.io to leave a comment.